
READ AND WRITE: 20 ESSENTIAL TIPS FOR EVERY PHOTOGRAPHER
Tip 1. No Matter How Pro You Get, It’s Still a Passion Play. This is important to me because it is true no matter how good you are at things it’s still a passion to play. You shouldn’t stop playing or doing just because you are good at it there is still things to learn.
Tip 2. Lighting Is Everything. Lighting is very important to photography because without lighting you won’t catch as much nice photos.
Tip 3. It’s All in the Details This is very true because with photography almost every picture is eye catching when it has detail take advantage of every tool you have to get as much detail in every shot.
Tip 4. Sometimes Auto Is Exactly What Is Needed. Sometimes when taking pictures, you don’t need to add or edit so many things to adjust the camera. sometimes shooting in auto is what you need. it saves time from adjusting the camera.
Tip 5. Read the Manual. This is a very important one because not everyone reads the manual on cameras. As dry as that writing is – and as many times as you’ve tried to understand what TTL, or rear curtain means – really studying it might just lead to the idea you need right now.
Tip 6. You’re in RAW, Right? RAW images allow more forgiving post work with more data and detail to make your image exactly the way you want. You can even compensate for a bad exposure or bring up some shadows.
Tip 7. How Are You Leading Your Viewer? As lines recede in space, they converge. You know it as perspective. But your audience only knows it for how it draws their attention to something or creates a dynamic feel to your image. Experiment with the height of your camera, how you position it to look down a street and where the lines all lead.
Tip 8. Eyes Are the Prize. When it comes to people, remember that the best way to connect your viewer to your subject is through their eyes. Eyes not only tell us the big emotions: sadness, anger, joy – they tell us the complexities of life. A smile with sad eyes is an entirely different emotion that a smile with bright open eyes.
Tip 9. Shoot First, Buy Stuff Later. A good rule of thumb on what to buy for yourself is to let it be dictated by what you’re shooting. For example, you don’t need a graduated neutral density filter until what time you’ve decided to shoot landscapes in situations that could use one. Go shoot and see what you’re missing, then fill in the gaps. This goes for different lenses, hard drives and many other things that seem “necessary” at first. Give yourself the time to discover what tools really help your style of shooting.
Tip 10. Experiment and play. It happens to beginners and pros alike – we learn what we’re good at and we stick with it. Don’t forget to do something different. Take on a crazy assignment or give yourself one. Take a few shots during your photoshoot that are done in an entirely different way. Photoshoots, by their nature, lean toward a certain time-restained bottom line. Just get the shot! This means that on set, the person who says, “Hey, what if we tried this a little differently?” is going to be resisted. Be that person. Fight the resistance!
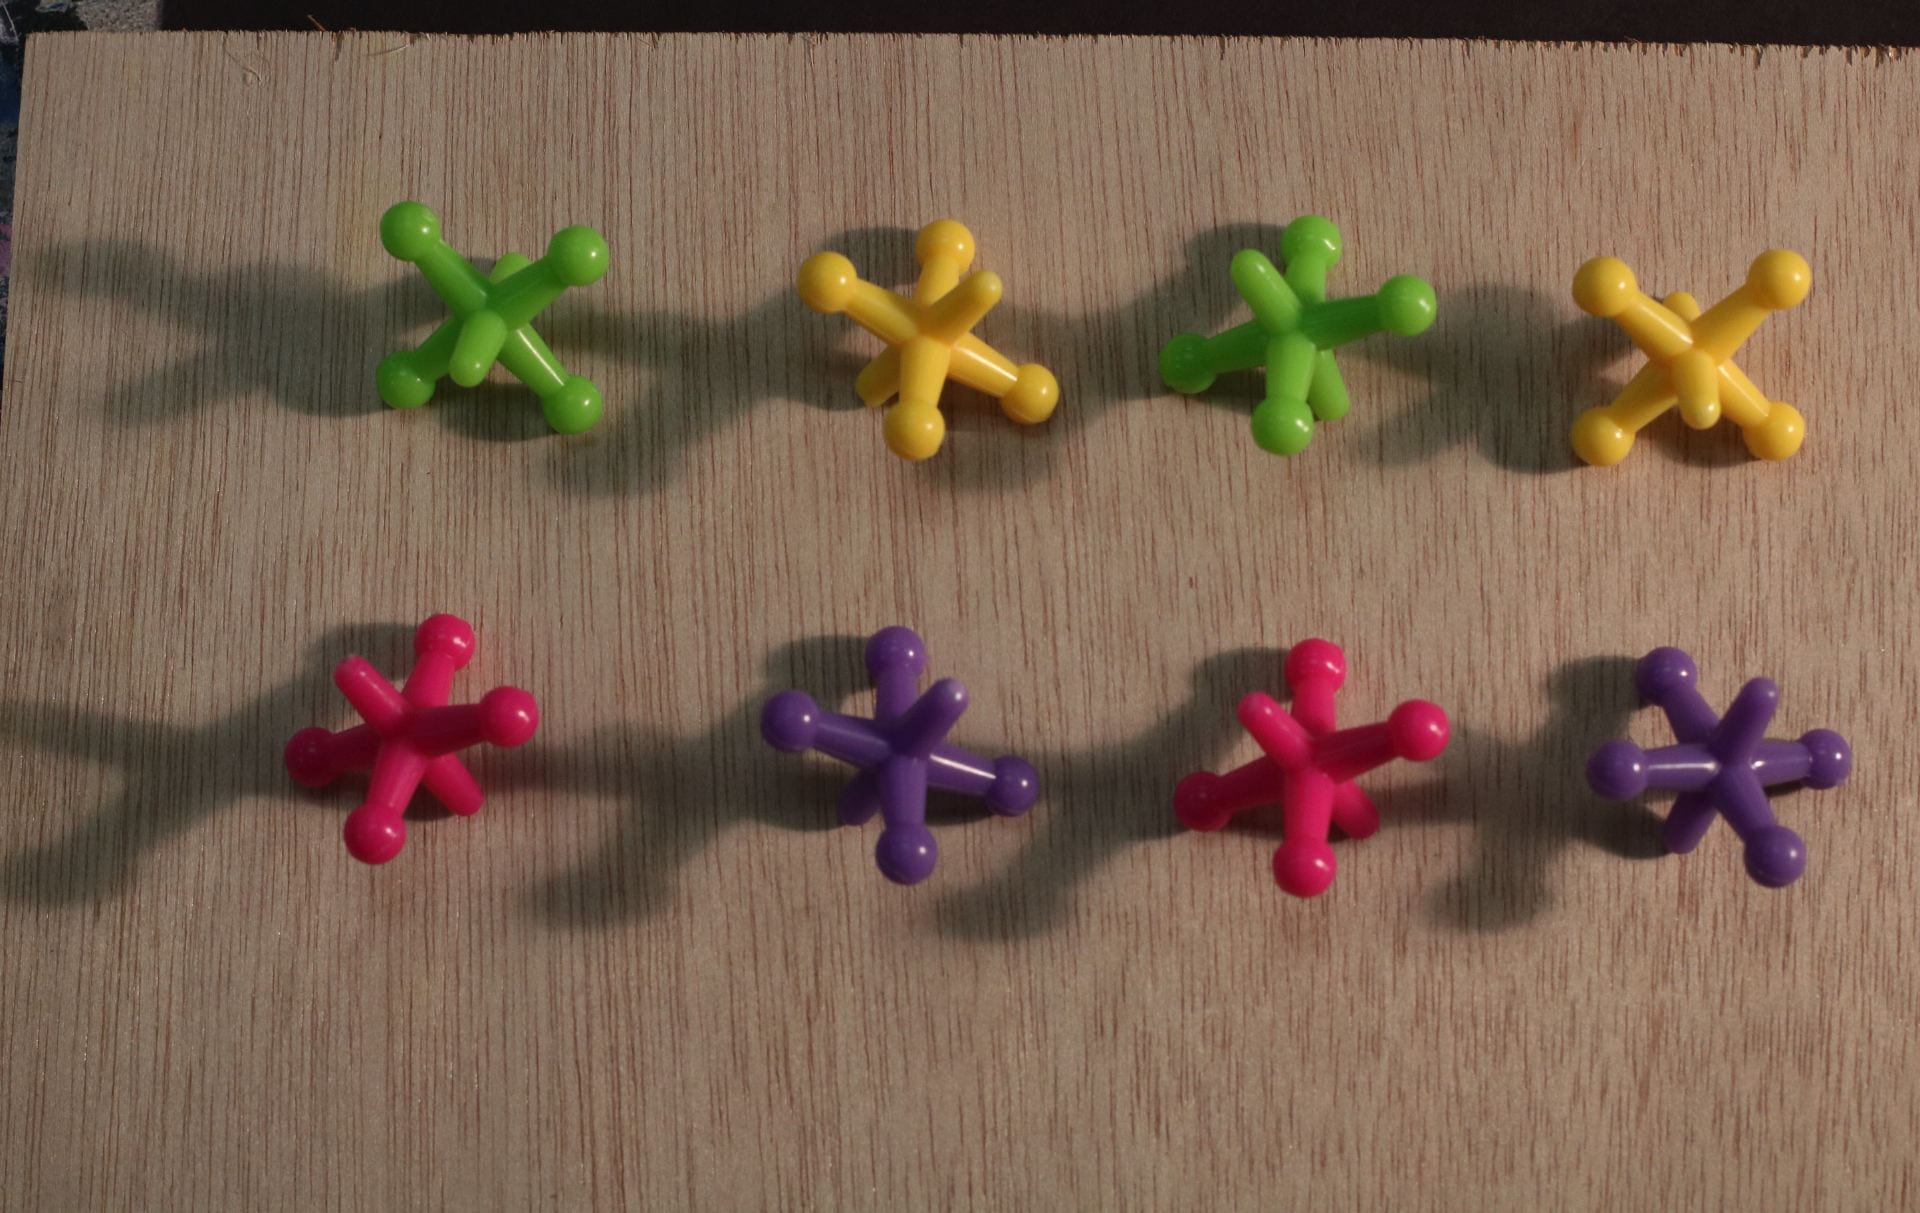
METICULOUS PHOTOGRAPHY
This image has caught my eye because of the bright red colors and the how it’s all neatly organized.
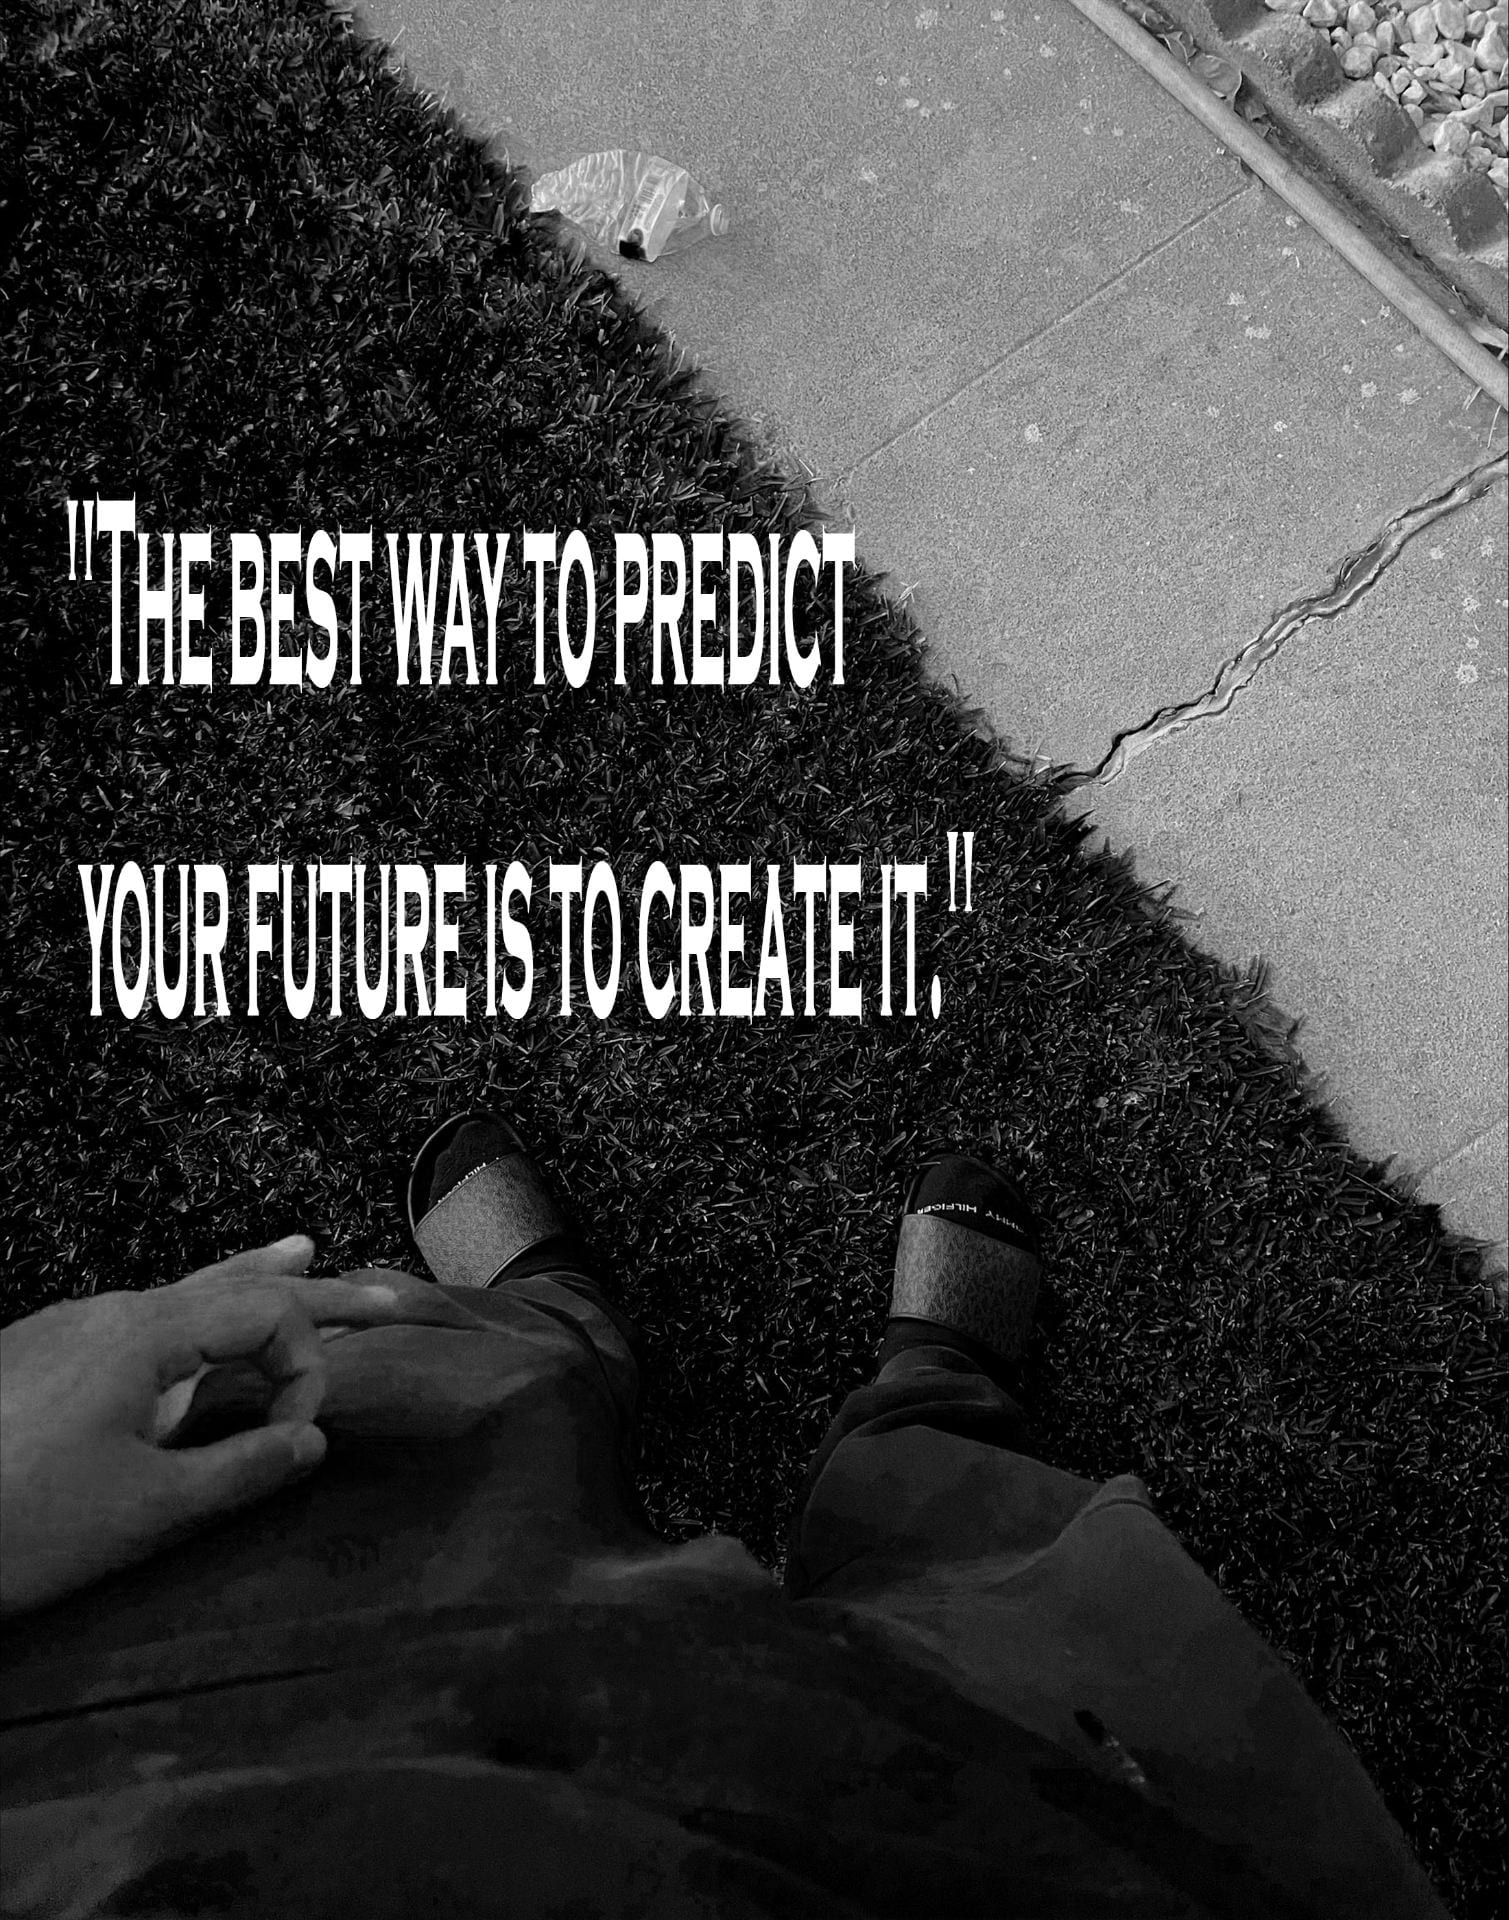
POETRY AND PHOTOGRAPHY
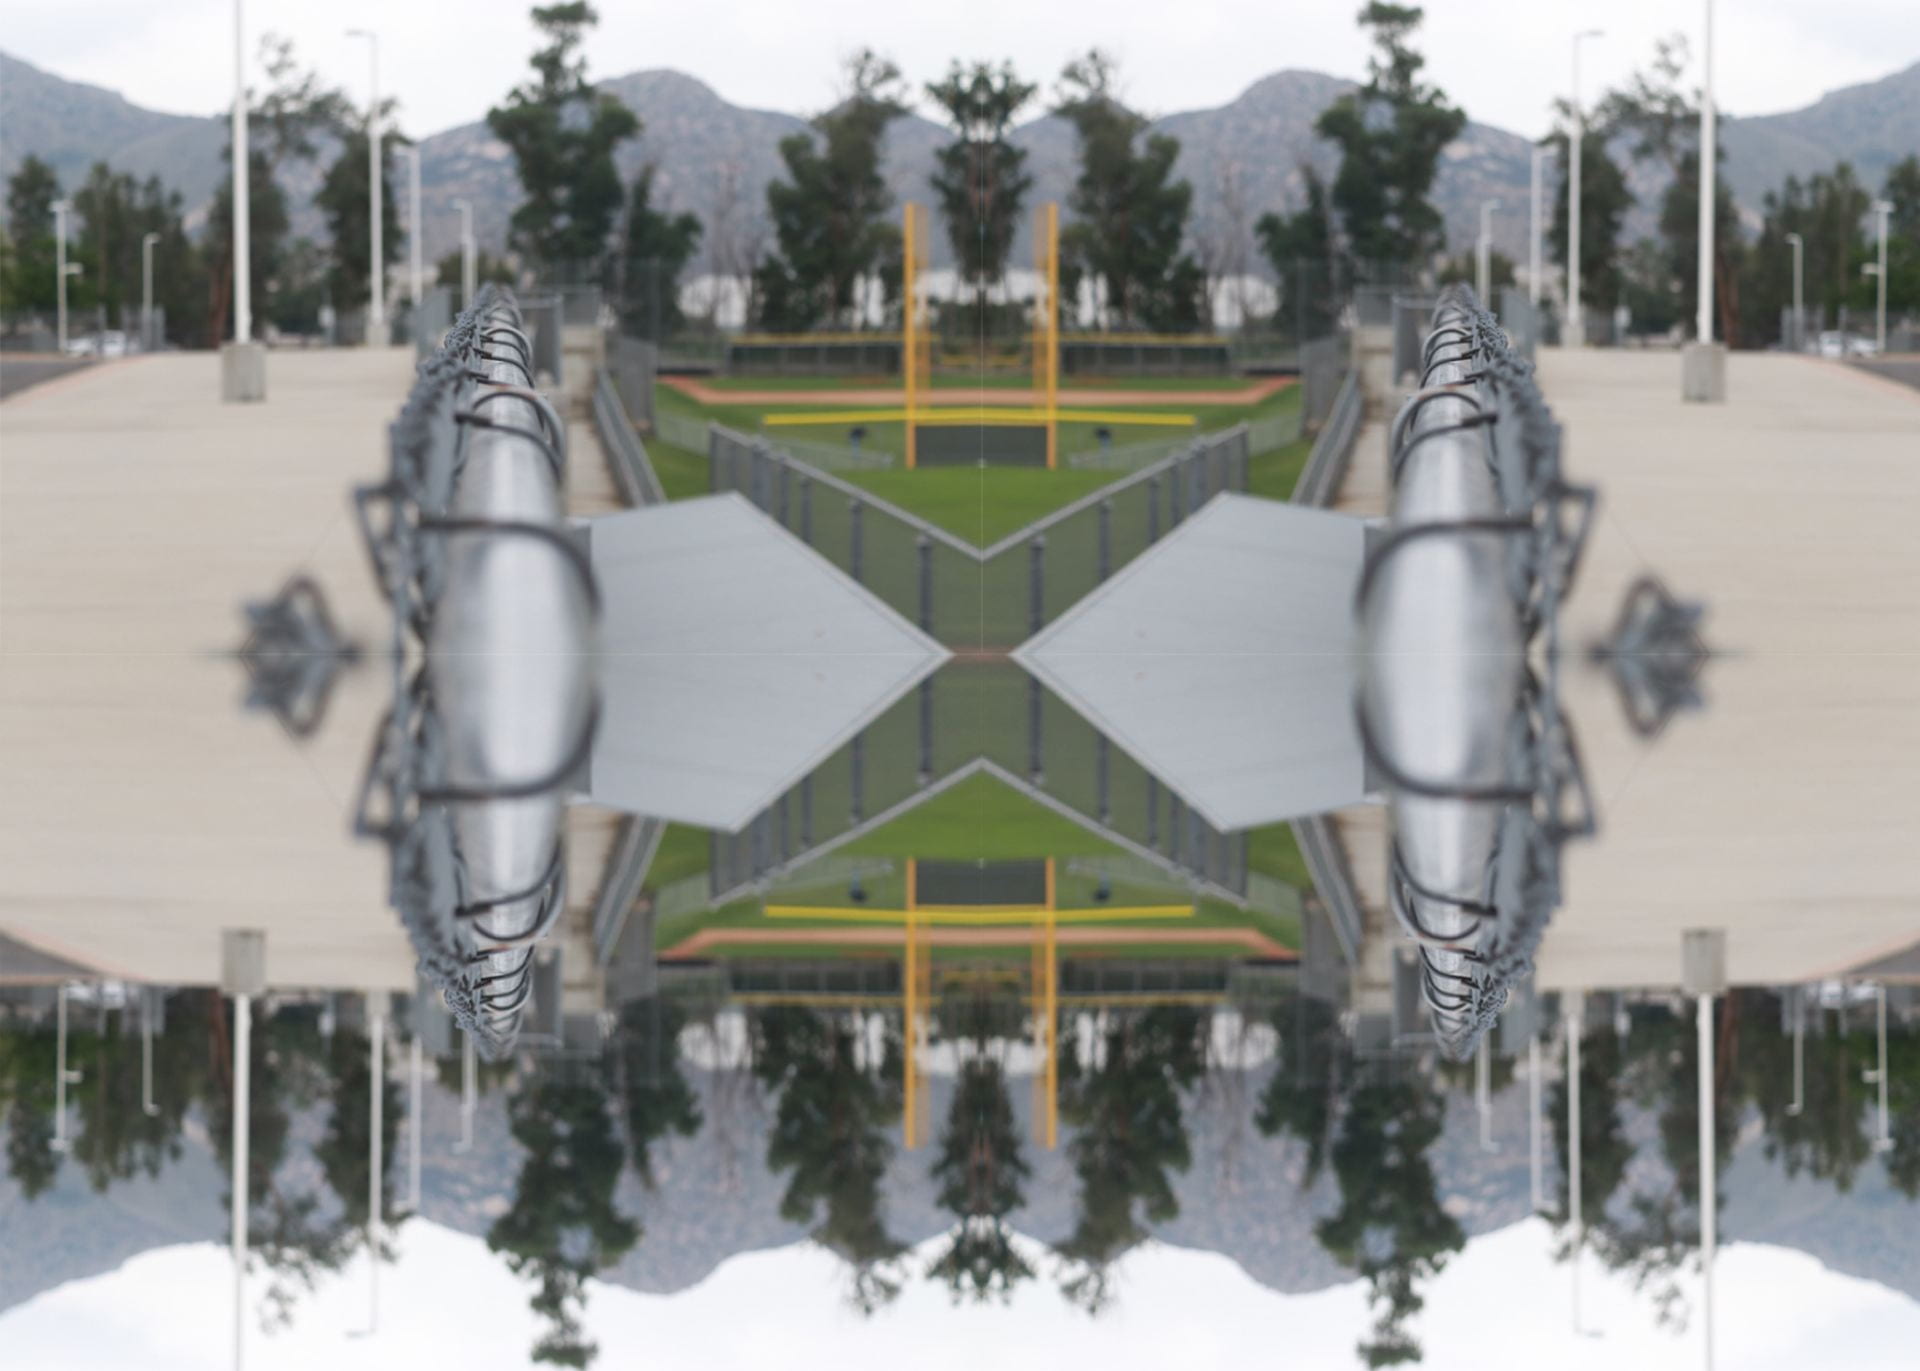
Mirror Imagery
Nice, Beautiful, Calming, Bright, interesting, fascinating, expressive, eye catching, cool, texture, colorful.
ARTIFICIAL INTELLIGENCE IN PHOTOGRAPHY
AI (Artificial Intelligence) is starting to be used in many different aspects of the world today. AI allows computers to do things that would normally require true human intelligence. Instead, we can now rely on artificial intelligence to complete tasks. AI exists in so many different places that you may not even realize.it is used to help improve the world in so many different ways today, even if you don’t realize it. If you’re a photographer, you may not even realize that your digital camera is harnessing the power of AI every single time you press the shutter. Using AI might be easier than you think, and there are more ways you can use AI than just for image editing. Photographers who run their own business can get great use out of AI in order to save time and expedite tasks that would normally eat away at your precious shooting time. there are many different ideas to use AI. If you’re a commercial photographer, your clients may want you to make a moodboard before your shoot. Even if you have the vision for the shoot already in mind, creating a moodboard takes time. Using AI technology in image generators is a great way to expedite the mood board creation process. No more browsing the web for hours on end trying to find a very specific image.
While there are a variety of different AI-based softwares that can aid photographers, we will cover a few of the best free tools that utilize artificial intelligence. Many websites (such as deepai.org) offer AI Image Generation. This allows you to create images simply by typing a few words. There are also many apps that allow you to do the same. Usually, you’ll put in a text prompt. The prompt can be as simple as a couple words, or as complex as a paragraph.If you have low resolution photos, software like AI Image Upscaler can help to increase the resolution of your photos. This can be beneficial if you need to crop an image down, blow up an image for print, or just want a higher resolution. This kind of AI Upscaler uses AI technology to create more pixels, in turn increasing the resolution of your photos. This particular upscaler made by StockPhotos even has FacePro, which recognizes and enhances faces to make them look fantastic in higher resolutions. AI Image Upscaler comes with three free upscales, and then you’ll have to pay if you like the software.
JPG vs RAW
The main difference between RAW vs. JPEG is that RAW contains all the uncompressed data your camera sensor can capture, whereas a JPEG is a compressed and processed version of an image.JPEG stands for Joint Photographic Experts Group, an international organization that standardized the format during the late 1980s and early 1990s. It’s the go-to file format for digital images — and it has been ever since photographers began snapping and storing images on digital cameras and other reprographic devices.A JPEG file can display 16.8 million colors while staying relatively small in size. That’s what makes it the go-to file for photographers and web publishers alike.
A RAW file contains all the uncompressed and unprocessed image data captured by the sensors of a digital camera or scanner. They’re also a type of raster file format, but one that maintains lossless quality. RAW files are not images — they’re just large files filled with the image data as it was captured.Professional and amateur photographers regularly debate whether shooting in JPEG or RAW is better. While both raster file formats share similarities, there are some key advantages and disadvantages to each type. Discover the differences between JPEG and RAW files.
The main difference between any JPEG and RAW file is its size. RAW files are significantly bigger than JPEG (and any other) image file formats.That’s because they contain all the raw image information captured by your digital camera’s sensors, completely uncompressed. Like working with a film negative from a traditional camera, the RAW file holds all the original detail, so you have complete control over what you do with it.
WHAT COLOR IS YOUR AURA?

The color blue represents me because I can say that I am a peaceful person, talented, calm, and loyal.
TAKE A VACATION
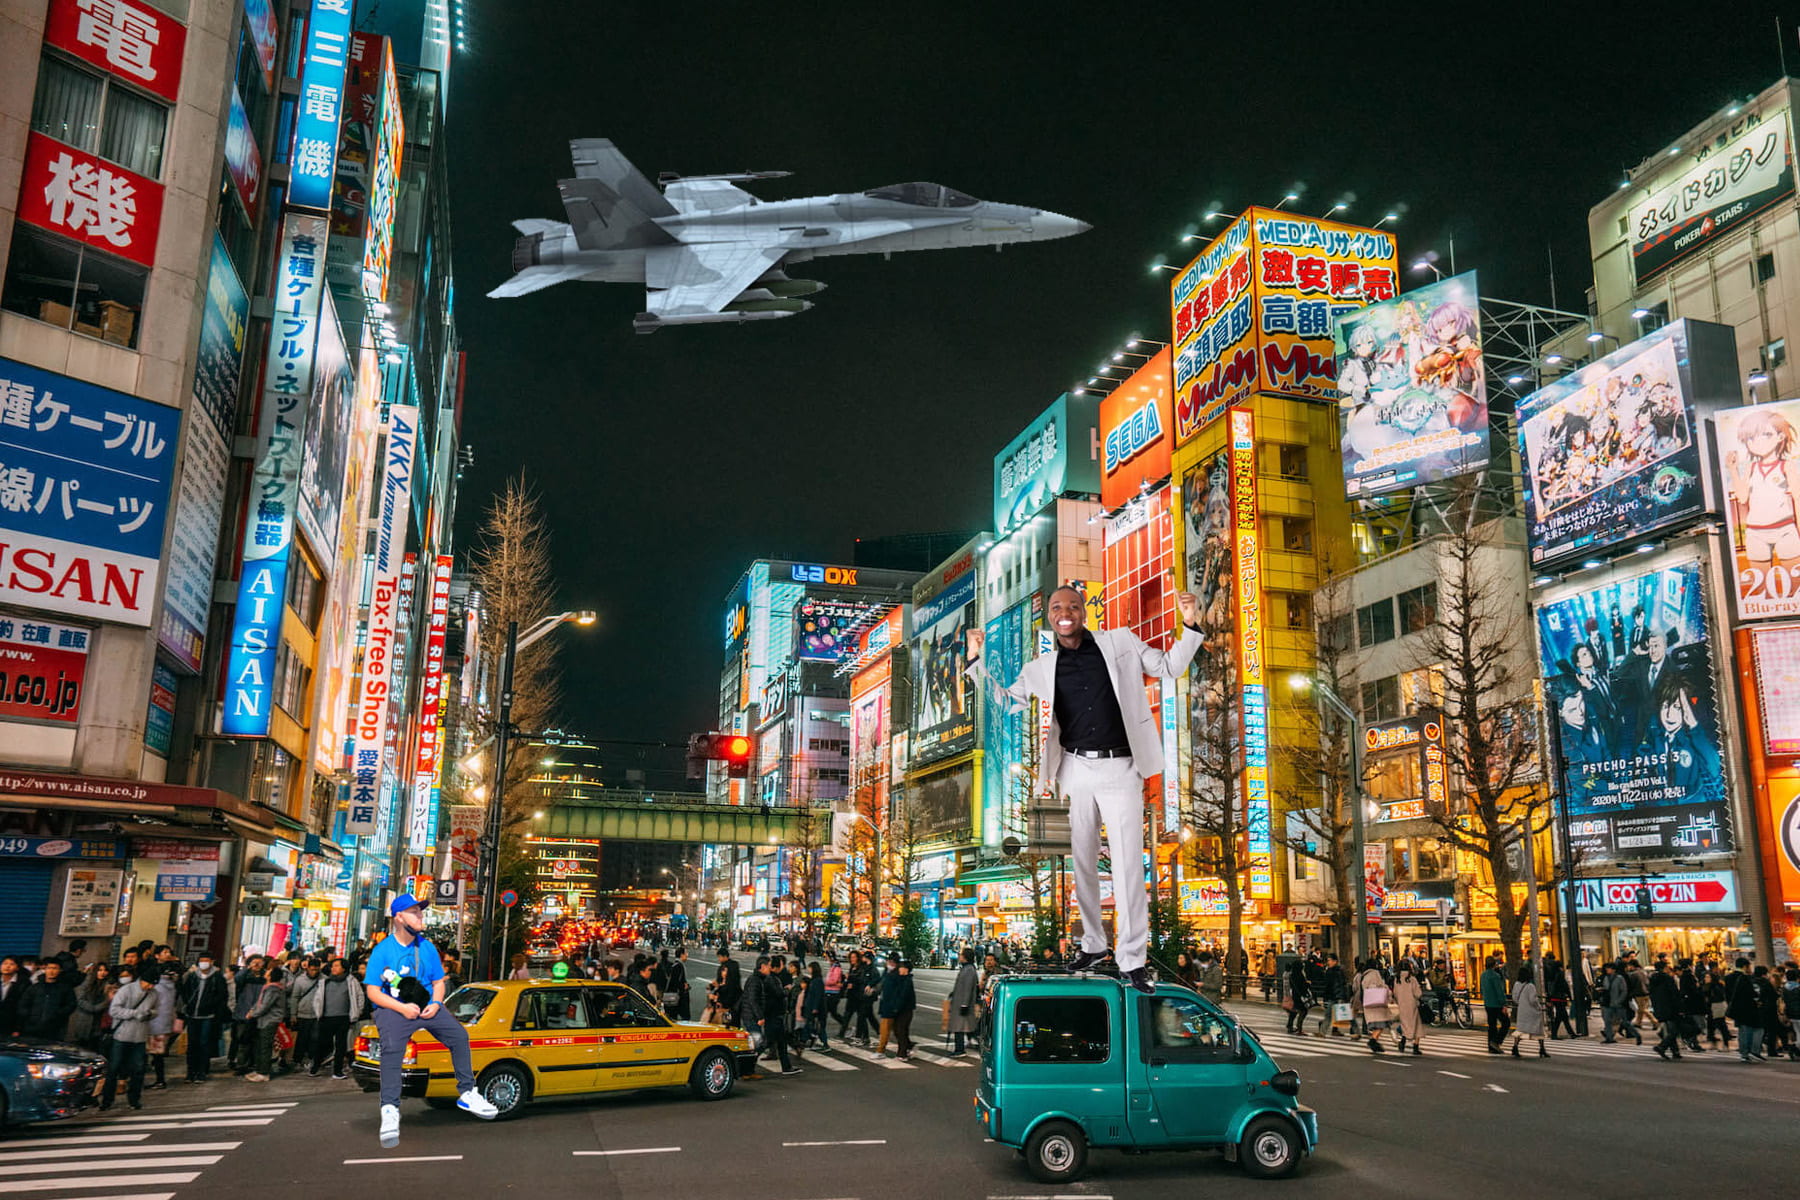
I would like to go to Tokyo because I’ve seen that there are many fun activities to do there and there is a lot to explore. I watched a youtuber that went and there were many things to do there. That made me want to go to Tokyo.
WHAT EVERY BEGINNER NEEDS TO KNOW READ AND WRITE
1. Setting the exposure using the histogram, the best way to tell if your exposure is correct is by consulting the histogram.
2. Raw, shooting in RAW format will give you access to the full capabilities of your camera.
3. Selecting focusing points manually, your camera has the option of selecting the autofocus points for you, but it can’t always anticipate correctly. That’s why learning to change the AF points manually is a useful skill. It will improve focusing accuracy and reduce chances of missing important shots.
4. Learn all AF modes, most cameras come with different autofocus modes like One-shot AF, Servo AF and AI Autofocus. All of these modes have different uses, depending on subject and situation. The one-shot mode will stop refocusing once it’s locked onto the subject. It will remain locked as long as you hold your finger on the shutter release, half pressed.AI- Servo AF mode won’t lock the focus and it will constantly refocus. It is a great focusing mode for sports and other fast-moving subjects.AI focus will automatically from one -shot to Servo if it detects movement in the frame.
5. Aperture Priority camera will vary the exposure settings depending on the aperture value you set. Having complete control over aperture means control over depth of field. This is a great setting for shooting portraits with a blurred background.
6. Shutter Priority The shutter priority mode works just like aperture priority, in the sense that it gives you complete control over shutter speed while making all the other settings automatically. This is a great setting for situations where you don’t want the shutter speed to go over or under a specific value.
7. Control motion Blur Motion blur often comes from using a shutter speed that is too slow for holding the camera in your hands. Every photographer has a maximum low speed they can use.
8. Manual white balance All digital cameras have a few white balance presets. While they can do a fairly decent job, we recommend learning to set white balance manually, according to each lighting situation.
9. This isn’t a major setting, but you never know when you’re going to have driven modes. Essentially, there are three of them: single shot, continuous low and continuous high. The first mode obviously allows you to shoot one frame at a time. It great for studio work or when shooting anything you have complete control over. CL is great for portraits when you have an expressive model and don’t want to miss any interesting faces. CH is the shooting mode for sports, wildlife and anything that moves fast.
10. ISO Higher ISO values are needed for working in low light. Just keep the noise levels in mind.
12.Exposure compensation It is a +/- scale that will tell your camera to increase or decrease exposure, depending on your needs. It works for all semi-automatic modes (P, Av, TV) and will influence exposure in increments. Be careful not to set it too high or low from the first attempt and instead try to get to a correct exposure gradually.
13. Manual exposure The last stage of learning how to use your camera’s settings is full manual control. You can’t call yourself a real photographer until you’ve learned to control every little setting on your camera.